

MQTT (Message Queuing Telemetry Transport) was first developed in 1999. It was designed as a lightweight, efficient protocol for sending telemetry data over unreliable networks, such as satellite links or cellular networks, where bandwidth and connectivity can be limited. Initially, MQTT was used for remote monitoring and control applications in industrial settings. However, as the Internet of Things (IoT) emerged, MQTT became a popular protocol for connecting devices and sensors to the internet.
In 2010, MQTT was released as an open standard by OASIS (Organization for the Advancement of Structured Information Standards) and has since been widely adopted by IoT platforms and devices. Today, MQTT is used in a wide range of applications, from home automation and smart energy systems to industrial automation and healthcare.
In recent years, MQTT has seen larger adoptions in Industrial settings such as factories, warehouses and more ruggedized environments. This is due to the equipment involved and enabling the possibility of retrofitting new devices onto old machines to create ‘smartness’ in them.
An MQTT broker is a software component that acts as a middleman between devices and applications that communicate using the MQTT (Message Queuing Telemetry Transport) protocol. The broker receives messages from devices or clients(software or hardware), and routes them to their intended destination. It also manages the subscription and publishing of messages, and maintains the state of the system. In essence, an MQTT broker enables communication between devices and applications in a distributed system. It is a key component in the Internet of Things (IoT) ecosystem, where devices and sensors need to communicate with each other in a reliable and efficient manner.
This tutorial will show you how to download, install, publish and subscribe to a MQTT Broker using Mosquitto. Mosquitto is a free MQTT broker which you can use for testing or even sometimes, deployment of enterprise applications. After setting up the broker, we will go through how to subscribe to this broker using Gravio and retrieve data into Gravio studio which can be used to trigger applications and build applications.
This setup serves as a easy and straightforward integration method for connecting 3rd party devices or software to Gravio as Gravio provides the tools for rapid application development.
Download MQTT broker from Mosquitto. In this tutorial, we will explore the use of Mosquitto MQTT Broker on Windows. Please download the version you need for your respective Operating System and there are instructions on how to install them on the download page.
After successfully installing the Mosquitto, we can begin to test the broker to see if the service is running correctly. To start the Mosquitto Service, please run “command prompt” as administrator. Then, head to the directory of where you have installed Mosquitto and type “net start mosquitto”. The console would then show the broker is running successfully.

Find out what the broker details, such as IP and port are important for integration from various data sources as they will need to publish to this broker with the right URLs and credentials. The default port is 1883 unless specified otherwise. Hence, we can find out immediately by typing “netstat -an” to list all the addresses. There, you can locate the port and the local address, which is “127.0.0.1”.

There are 2 key functions to a broker, publishing to it and subscribing to it. Now that the service is running, we can test out these functions to ensure that it is working properly. In the same window, we can start using the “mosquitto_sub” function to subscribe to a topic. A topic is how someone will organize their data structure coming into the broker and is usually separated by “/”. As an example, a topic would be “factory1/floor1/area2/machine3/temperature”.
So, subscribing to a topic using the command line would look something like this, “mosquitto_sub -h localhost -t area1”
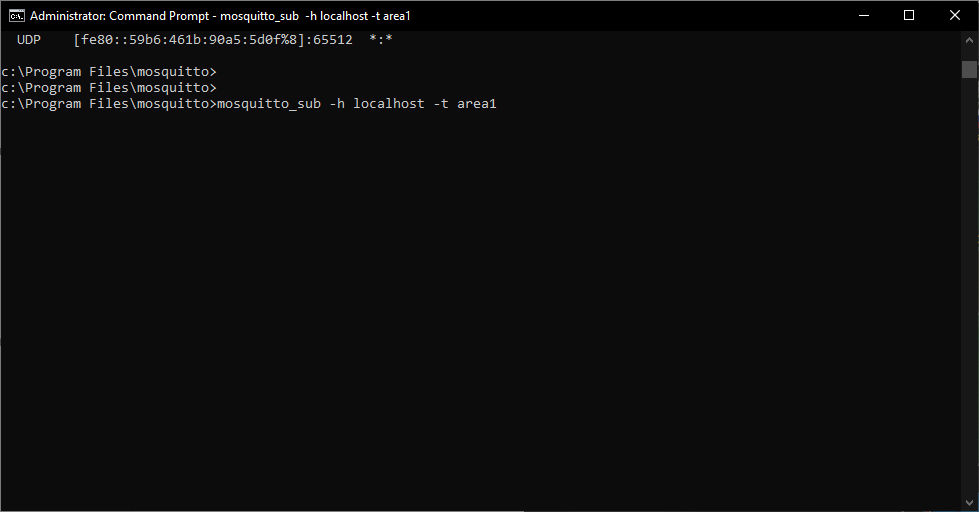
Now we are listening to the topic, the next step is to publish some ‘data’ to the topic and test whether we are subscribed correctly.
To start, we will need to open another command prompt window and also run it as admin. Ensure that you are in the mosquitto file path and then type “mosquitto_pub -h localhost -t area1 -m “your message”. Put the windows side by side and you will be able to see the message come through.

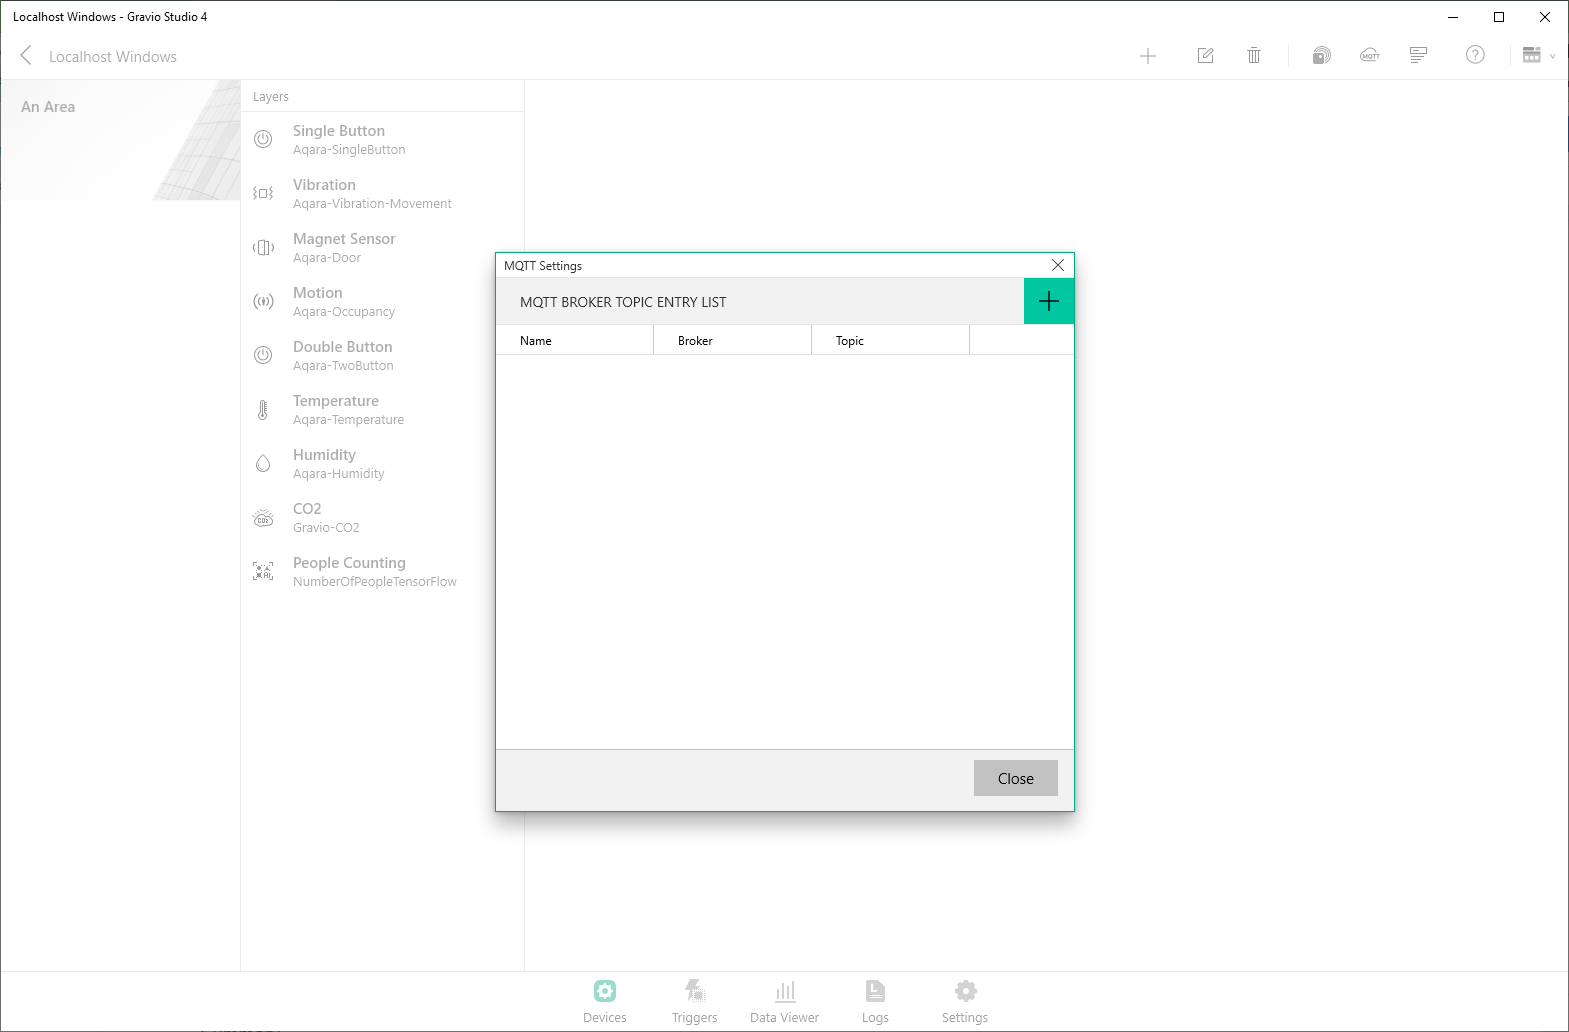
Run Gravio HubKit service and login to Gravio Studio. In the Devices page, select the MQTT icon.

Then, select ‘+’ in the pop up page.
Select ‘List’.
And ‘+’

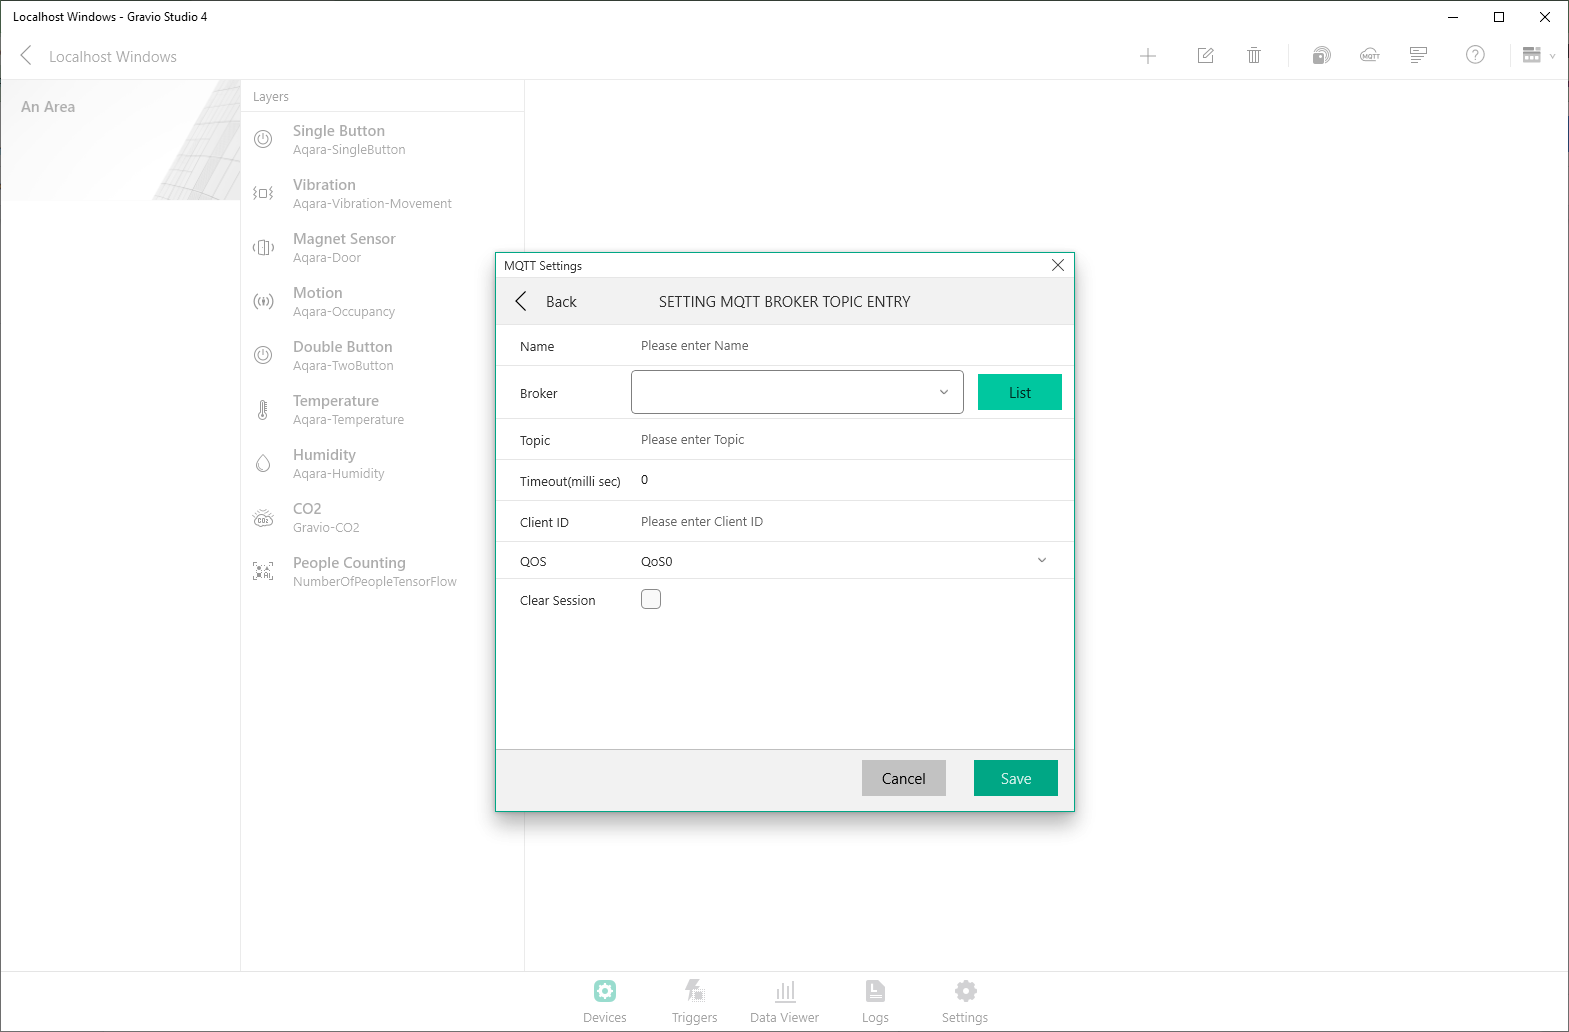
Update the credentials from what we have recorded in Part 1.

Ensure that the topic is the same as the one that you are publishing to, select the broker and save.

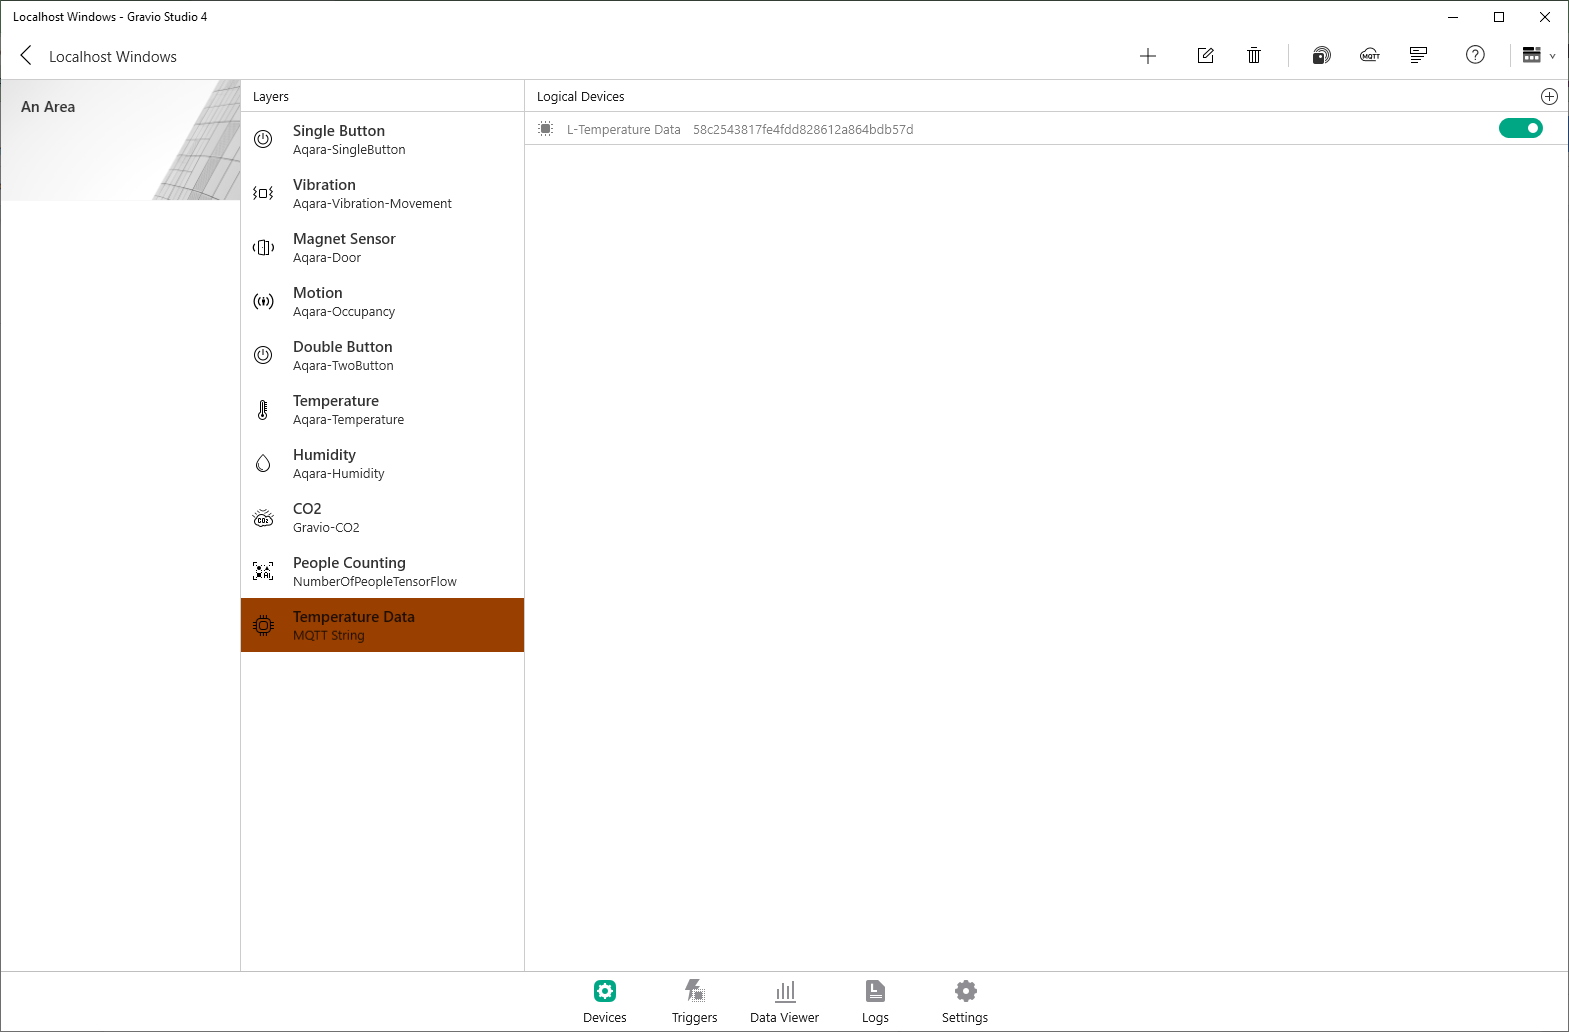
Add an MQTT String Layer in Gravio Studio. Start by selecting the ‘+’ sign and ‘Add layer’.


Bind Layer to the broker we have just connected to.

Then, ensure the Layer is toggled on.
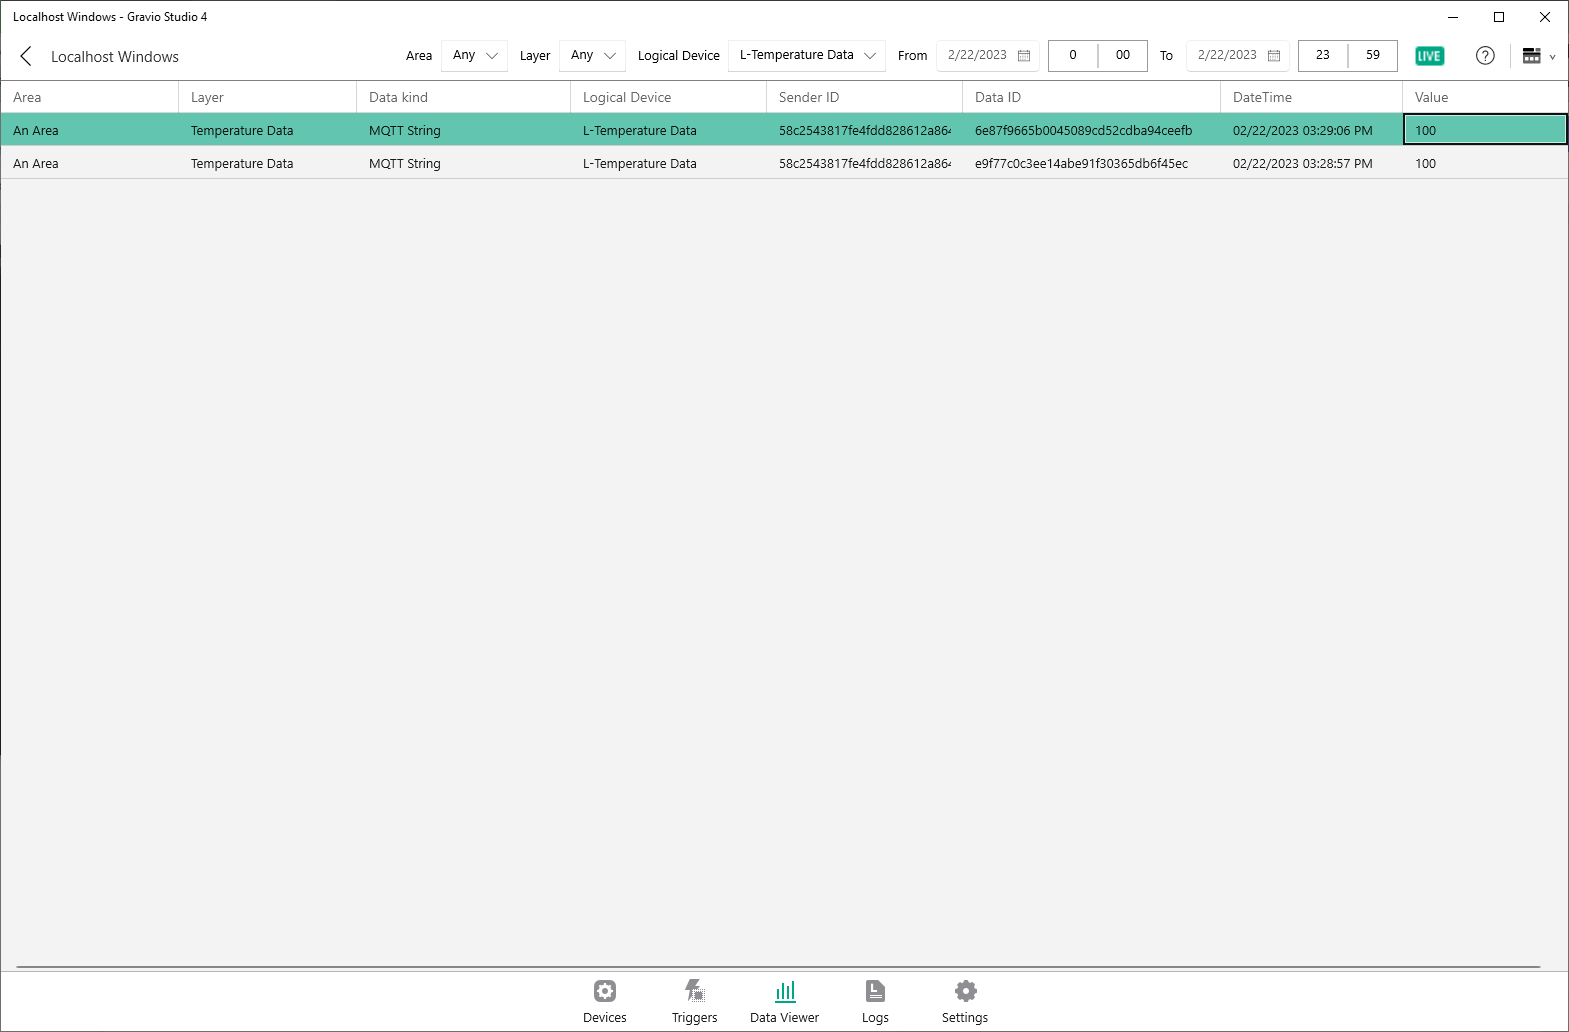
We will now bridge the data into Gravio and test it out by using the ‘data viewer’ tab. Publish another message in your command prompt window to the broker and you should be able to see the data stream in Gravio.
Now that we have the data source integrated, we can build solutions using Actions in Gravio Studio. You can choose any software component and build up entire business processes, automations or workflows with the data source as a trigger/starting point for this Action to run. Here is an example of using the HTTP Request software component and posting it to Request Bin.

Ideally, you would create various applications and workflows from various data sources and ultimately, enterprise solutions.
Create Triggers in the triggers page to connect the data source as a trigger point to start running the application that is built in Actions.

That is it! We have officially bridged data from an MQTT Broker into Gravio. This tutorial is to showcase how easy you can integrate data from 3rd party devices or softwares via MQTT protocol. Ideally, you would connect various data sources to the MQTT broker by publishing their values to it and Gravio can subscribe to the topics to accelerate solution building and integration. Hopefully this will spark new ideas in building new solutions!
